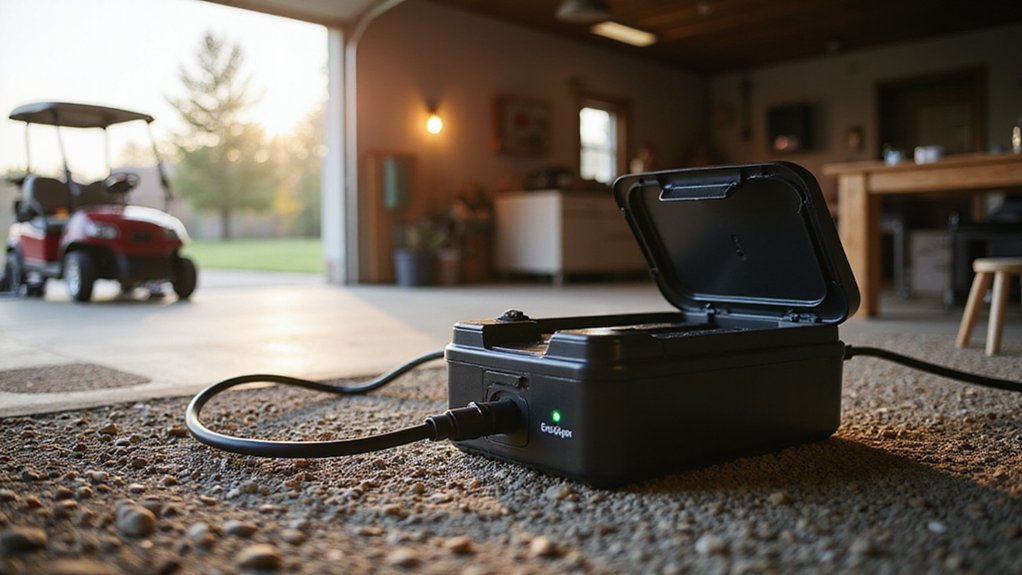
Charging a lithium golf cart battery might seem straightforward, but using the wrong charger or method can quickly harm the battery and reduce its lifespan. The key is matching the right charger and following proper safety steps.
Proper charging not only ensures longer battery life but also keeps your cart running smoothly.
Keep reading to learn the essential tips for safe and effective lithium battery charging.
Choose a Charger Built for LiFePO4 Golf Cart Batteries
Choosing a charger specifically designed for LiFePO4 golf cart batteries is essential. These chargers feature a constant-current/constant-voltage profile, which is crucial for proper charging. Unlike lead-acid chargers, they do not use bulk, absorption, or float phases that can stress the Lithium Iron Phosphate chemistry. Instead, they gradually decrease current as the battery reaches full voltage, then shut off automatically. Using top battery cables designed for high current flow ensures the charger delivers power efficiently without voltage drop. Look for units with built-in protections like over-voltage and over-temperature safeguards to prevent damage. A cooling fan is also beneficial, as it helps manage heat during fast charging sessions, thereby extending both charger and battery life. When selecting a cover for your cart, the best cover for golf cart models offer UV protection and weather resistance for outdoor storage. Avoid chargers with lead-acid maintenance modes, which can lead to overcharging and reduce your battery’s lifespan. Proper, chemistry-specific regulation ensures your LiFePO4 batteries stay healthy and perform optimally over time. For optimal performance, select options from top lithium golf carts that pair well with advanced charging technology. For example, the FORM 48V charger incorporates a ‘Set it & Forget it’ maintenance mode that automatically transitions to maintenance after full charge, preserving battery health.

【Wide Compatibility】48 volt lithium battery charger is designed for 48V (51.2V) LiFePO4 batteries.Compatible for 48 volt golf carts (Club Car, EZGO, etc), forklifts, floor scrubbers, motorcycles, boats, solar system, RV, Off Grid, wall mount 48v lithium ion battery, outboard, trolling motors, etc. Lifepo4 battery charger 48 volt has an O-shaped M8 terminal,which can be directly connected to the battery on the vehicle for on-board charging.No need to worry about plug adaptation.

【Smart Charging for Long Battery Life】 The 48v golf cart charger leverages advanced CPU control and PWM technology for efficient, stable, and energy-saving charging. Utilizing a multi-stage smart charging process, it automatically adjusts current and voltage to prevent overcharging and extend battery life. Keep your golf cart in top condition with this intelligent system.
Match the Voltage and Connector to Your Battery Pack
To match your charger to your battery pack, start by confirming your pack’s nominal voltage, which is typically 36V, 48V, or 72V. The charger’s output voltage must match this rating precisely to ensure proper charging. For example, a 48V charger is suitable only for a 48V battery pack; using a 36V charger on a 48V system can lead to incomplete charging and potential battery stress. Additionally, some battery chemistries like LiFePO4 may require a higher absorption voltage, such as 58.4V for a 51.2V system, to fully charge the pack without harm. If you are also upgrading the cart’s suspension, consider top lift kits to accommodate the new battery weight and clearance. Before purchasing, it is wise to review real price ranges for replacement options to plan your budget effectively. Choosing a quality and performance charger from a reputable brand ensures long battery life and reliable operation.
Next, check the connector compatibility. The charger’s plug needs to fit your cart’s receptacle securely. Common connector types include Anderson SB50, EZGO D-style, crowfoot, or round 3-pin connectors. Because brands often have unique ports, it’s essential to verify the shape and size—don’t assume a connector will work just because the voltage matches. An outlet that fits perfectly combined with the correct voltage ensures safe, efficient charging and prevents damage or connector damage due to mismatched parts.

Product Usage: This 58.4V 18A charger is meticulously designed for the 48V lithium - ion batteries of golf carts and trolling motors. With a robust 18 - ampere current, it enables rapid charging. In just 2 to 4 hours, it can safely and efficiently fully charge 48V 50AH or 48V 100AH lithium - ion batteries. Moreover, it is widely applicable to various devices equipped with 48 - volt lithium - ion batteries, such as sightseeing vehicles, forklifts, logistics trucks, all - terrain vehicles, and boats, meeting their cyclic charging requirements.

【Precise 48V LiFePO4 Compatibility】Exclusively designed for 48V (51.2V) LiFePO4 batteries, this charger delivers 58.4V stable output and 18A fast charging current with maximum efficiency over 90%. Equipped with advanced smart charging technology and 0V wake-up mode, it can revive deeply discharged batteries and avoid overcharging, extending battery lifespan. Perfect for quickly replenishing power in parking mode.

【58.4V(51.2V)18A Lithium Battery Charger】Features ring terminals for easy onboard mounting.The 48 volt lithium battery charger is compatible with Golf cart, RV, Car, Truck, Forklift, Boat, Electric outboard, Solar system, Home, etc.It is characterized by high efficiency, stability and energy saving, and meets the charging requirements of 16 strings of LiFePO4 batteries.
How to Hook Up Your Charger Without Blowing a Fuse
To hook up your charger without blowing a fuse, follow these essential steps. First, confirm that you are connecting positive to positive and negative to negative. Always check the terminal markings and your charger’s reverse-polarity indicator before energizing, as reversing these connections is a fault condition that can cause damage. Next, install the fuse on the positive cable close to the battery, sizing it at approximately 125% of the charger’s output current. Using a fuse that’s too small can lead to nuisance blows, while an overly large fuse reduces protection. For optimal visibility during evening hookups, consider upgrading to top LED headlights for a clearer view of your battery terminals. Finally, turn off both AC and DC breakers before making the final connections. Ensure your terminals are snugly attached to prevent arcing, and inspect the cable insulation and lugs for damage. If the fuse blows immediately after connecting, recheck your polarity—do not simply replace the fuse blindly. For additional guidance, consider reviewing top extended roofs if your golf cart setup requires a canopy for shade while charging. These steps ensure your setup is safe and that your charging system operates properly without risking a blown fuse. For electric models, a lithium battery requires a dedicated charger that matches its voltage to avoid overcharging.

Suitable Models: Club car charger fuse fits 1995-2002 club car electric models with 48 volt battery chargers

【18 Amp Rapid Charger/Lead-Acid】EPOWREY 18 Amp 36 Volt golf carts battery charger for EZGO TXT - D style plug.Our chargers are designed for fast, convenient and safe charging in a variety of situations.

HIGH EFFICIENCY: Supports 20V–60V input (compatible with 24V/36V/48V systems), stable 12V 20A (240W) output. Synchronous rectification technology, up to 95% conversion efficiency. 30%-50% power headroom is suggested for stable performance
Where to (and Not to) Charge Your Lithium Battery
Charge your lithium battery only in open, well-ventilated areas and avoid confined spaces like closed garages or storage rooms. Never leave the battery charging overnight when you cannot monitor the process, as this increases the risk of fire or damage. Avoid charging in clubhouses or high-value buildings where a fire could cause significant harm. Never charge a wet battery or use a damaged charger, as both can lead to malfunctions or safety hazards. For those considering a gas-powered alternative, investing in a top gas-powered golf cart ensures reliable performance with different fueling and safety requirements. If you use your cart on grass, selecting turf tires for golf carts can improve traction and reduce damage to the ground. Always use the correct charger model specified for your lithium battery to prevent overcharging and potential fire.
Instead, choose a location with a concrete floor, which helps you spot issues such as leaks, swelling, or overheating quickly. Keep the environment at moderate temperatures, ideally between 20°C and 25°C (68°F to 77°F), to prevent overheating or underperformance. Before plugging in, inspect the battery for signs of swelling, foul odor, or abnormal heat, as these are indicators of potential failure. Proper placement and careful inspection protect both your battery and your property from fire, damage, and safety risks.

【43.8V(38.4V)25A Lithium Battery Charger】Features ring terminals for easy onboard mounting.The 36 volt lithium battery charger is compatible with Golf cart, RV, Car, Truck, Forklift, Boat, Electric outboard, Solar system, Home, etc.It is characterized by high efficiency, stability and energy saving, and meets the charging requirements of 12 strings of LiFePO4 batteries.

58.4V 15A LiFePO4 Battery Charger:Charging specs: 58.4V | Charging current: 15A | Rated input voltage: 100V-240VAC; 47Hz to 63Hz. Ciyosmil 58.4V 15A smart LiFePO4 charger designed for 48V (51.2V) LiFePO4 batteries.

48 Volt 15 Amp Golf Cart Lithium Charger : 48v lithium golf cart battery charger with 3-pin round plug. The golf cart charger 48 volt club car is compatible with Club Car , EZGO and so on for your golf cart. Club car golf cart charger has high output voltage and current accuracy, good stability, and can ensure fast charging for 16 strings of LiFePO4 batteries.
How Long Will a Lithium Golf Cart Battery Take to Charge?
The typical charge time for a lithium golf cart battery ranges from 3 to 6 hours. Several factors influence this duration, including your battery’s capacity, the output of your charger, and how depleted the battery is before charging. For example, a 100Ah battery paired with a 20A charger usually takes around 5 hours to fully recharge. If you use a 30A charger instead, the process can be shortened to about 3 to 4 hours. Larger batteries, like a 150Ah pack, might take up to 10 hours with a lower-output charger. To enhance your listening experience while waiting, consider pairing your charge cycle with top Bluetooth speakers designed for golf carts. When evaluating options, Yamaha owners often prioritize battery compatibility to ensure optimal performance. To protect your battery, consider installing weather-resistant covers reviewed for Club Car models to shield the charger port from debris.
Charging a partially drained battery significantly reduces your wait time. For instance, topping off a battery that is half-empty typically takes between 2 and 4 hours, so maintaining your batteries by avoiding deep discharges keeps your charging times shorter. Always ensure you are using a compatible charger designed for your lithium battery to protect its lifespan. Proper maintenance—such as avoiding full discharges—helps your battery charge faster and stay healthier over time. Remember that your charger’s amperage setting directly affects how long your battery takes to reach full charge, so choosing the right charger output is essential for efficient recharging.
How Your Lithium Battery Charges (CC/CV Explained Simply)
Your lithium golf cart battery charges in two main phases: constant current (CC) first, then constant voltage (CV). During the CC phase, the charger supplies a fixed current to the battery. As this happens, the battery’s voltage steadily increases as lithium ions move inside the cells. This phase delivers most of the charge quickly, enabling a fast initial boost.
Once the battery reaches its maximum voltage—4.20V for standard lithium chemistry or 3.65V for LiFePO4—the charger switches to CV mode. In this phase, it maintains that constant voltage while allowing the current to gradually decrease. This slow tapering prevents overcharging and protects the battery’s chemistry from damage. Charging continues until the current drops below a preset threshold, indicating a full, safe charge. Golf cart speed is also influenced by battery voltage, with higher voltage systems typically providing faster acceleration and top speeds.
Can You Charge After Every Ride? (Yes, Here’s Why)
You can charge after every ride without any issues. Your battery’s management system is designed to handle frequent top-offs safely, so there’s no need to wait until it’s fully drained. Charging when your capacity drops below 50% is ideal for maintaining battery health. Even short rides justify plugging in, as regular charging supports longer cycle life, reduces battery stress, and keeps your cart always ready to go. Unlike gas models, lithium batteries do not require engine maintenance or fuel refills. For lithium batteries, daily charging isn’t just safe—it’s actually recommended to ensure optimal performance. Always follow a step-by-step walkthrough to properly connect your charger and monitor the process for safety. To match your battery with the right equipment, consult reviews of top 24 volt chargers that are compatible with lithium systems.
7 Charging Mistakes That Will Kill Your Lithium Battery
Using the correct charger and paying attention to temperature are crucial to preserving your lithium golf cart battery’s health. Always verify that your charger’s voltage output matches your battery pack’s specifications—such as 58.4V for a 16S LiFePO4—before connecting. Mismatched chargers can trigger BMS shutdowns or stress individual cells, shortening your battery’s lifespan. Never use a lead-acid charger; its voltage profile doesn’t align with lithium batteries and can cause damage. For comparison, top 6-volt options use a completely different charging profile and chemistry.
Temperature management is essential during charging. Do not charge below 32°F because it can cause lithium plating, leading to capacity loss and safety risks. Conversely, charging when the pack is hot accelerates wear and degradation. Always warm a cold battery first, either by plugging it in for a short period or allowing it to reach room temperature.
Never bypass the battery management system (BMS). It protects against overcharging and prevents potential damage or safety hazards. Regularly inspect connections for heat, corrosion, or damage since a hot plug or terminal can indicate resistance issues. Stop charging immediately if you detect melting or a burning smell. If your charge fails, don’t assume the battery is dead—check the charger and wiring first to identify the real problem.

48 VOLT GOLF CART BATTERY CHARGER - Effortlessly power your YAMAHA electric golf cart with our lightweight and efficient 48-volt golf cart battery charger, featuring the trusted YAMAHA Drive Plug. This charger is 80% lighter than the YAMAHA OEM model and includes an extended 14+ft of power cables for unparalleled flexibility and ultimate convenience. If you’re looking for the perfect YAMAHA golf cart battery charger, this is the one that delivers exceptional performance and ease of use.

36 VOLT GOLF CART BATTERY CHARGER - Effortlessly power your EZGO TXT electric golf cart with our lightweight and efficient 36-volt golf cart battery charger, featuring the trusted Powerwise EZGO “D” Style Plug. This charger is 80% lighter than the EZGO OEM model for unparalleled flexibility and ultimate convenience. If you’re looking for the perfect EZGO golf cart battery charger, this is the one that delivers exceptional performance and ease of use.

48V 15A Lithium Battery Charger : 58.4V 15A LiFePO4 Battery Charger for 48V (51.2V) Lithium Batteries. Charging Current: 15A; Rated Input Voltage: 100V - 240V AC; Operating Temperature: -20 °C to 50 °C. Featuring fast and stable charging performance, it is ideal for golf carts, campers and various energy storage devices.
How to Park Your Lithium Battery for Months (Storage Tips)
When storing your lithium golf cart battery for several months, aim to keep it at a charge level between 40% and 60%. This range helps maximize battery lifespan by reducing stress and preventing damage from full or completely drained states. Choose a cool, dry spot with a temperature between 32°F and 77°F; avoid freezing environments or places with direct heat exposure. If you must store it in cold conditions, insulation can help, but don’t rely solely on it for extreme temperatures. Disconnect the main negative cable to prevent parasitic drain caused by connected electronics. Check the battery’s charge every 2 to 3 months, since lithium batteries gradually self-discharge. If the charge drops below 40%, top it back up to the recommended 40-60% range. For storage periods longer than three months, maintaining a 40% to 50% charge is ideal. Keep humidity low and follow the manufacturer’s guidelines to ensure optimal preservation during storage.